Pull my production site into the staging site
Step 2 of the Get started with staging series.
Note: If you previously set up your staging site and need to pull your current production site in, follow these steps. If you're just starting your staging site, you can continue the process in the next article, Access my staging site.
When you pull your production site into staging, it copies your live site with all your plugins, themes, and other content to your staging site. You can edit the staging site as much as you want without those changes affecting your production site.
Note: Any custom code or assets not stored in the /wp-content folder will not be moved to and from staging.
- Go to your GoDaddy product page.
- On your My Products page, next to Managed Hosting for WordPress, select Manage All.
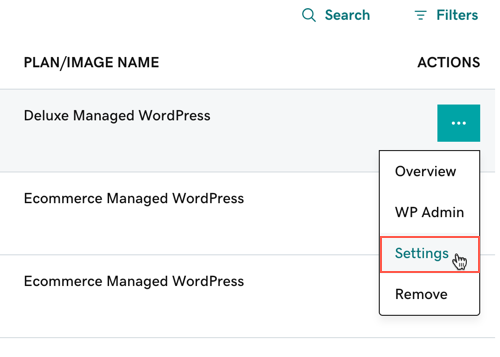
- For the website you want to pull into staging, select Settings from the
 menu.
menu.
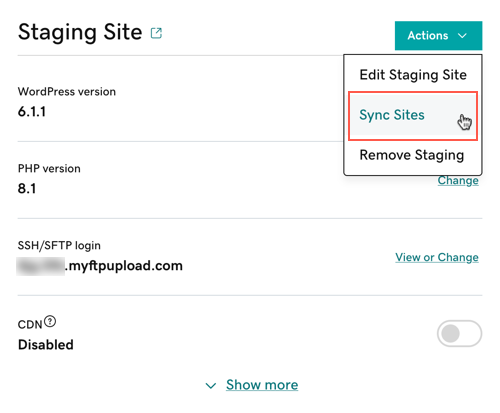
- In the Staging Site section, select Actions and then select Sync Sites.
- Select Pull production to staging.
Note: Choose to Overwrite content if you're syncing your sites for the first time or if you're certain you want to overwrite the staging site database. If you do not choose to Overwrite content, only files will be pulled into staging.
- Select Sync.
Syncing your staging site from your production site may take a few minutes based on the size and complexity of your site.
Next, you'll learn how to access your staging site.